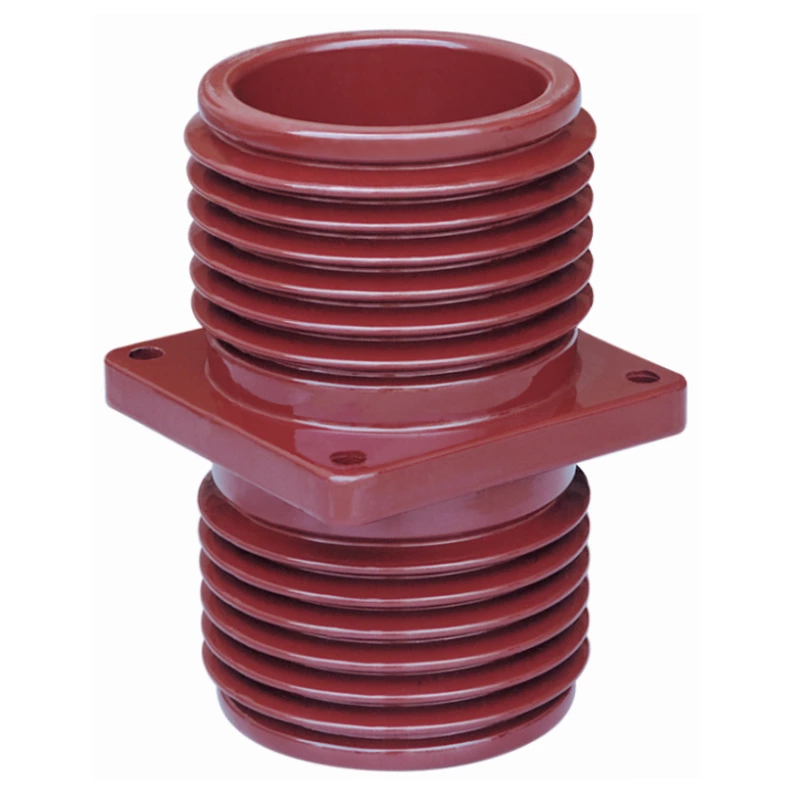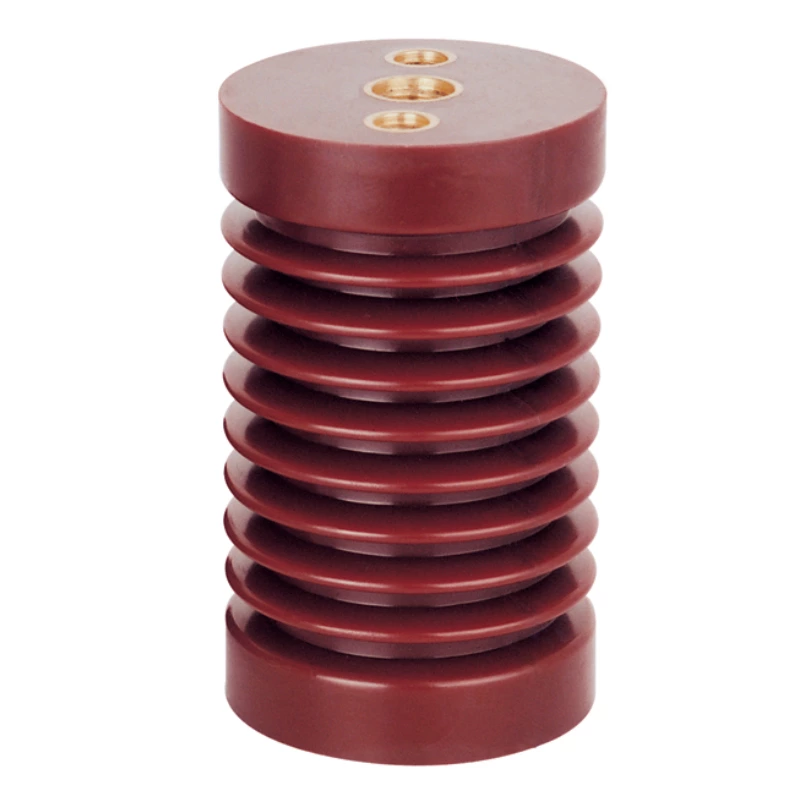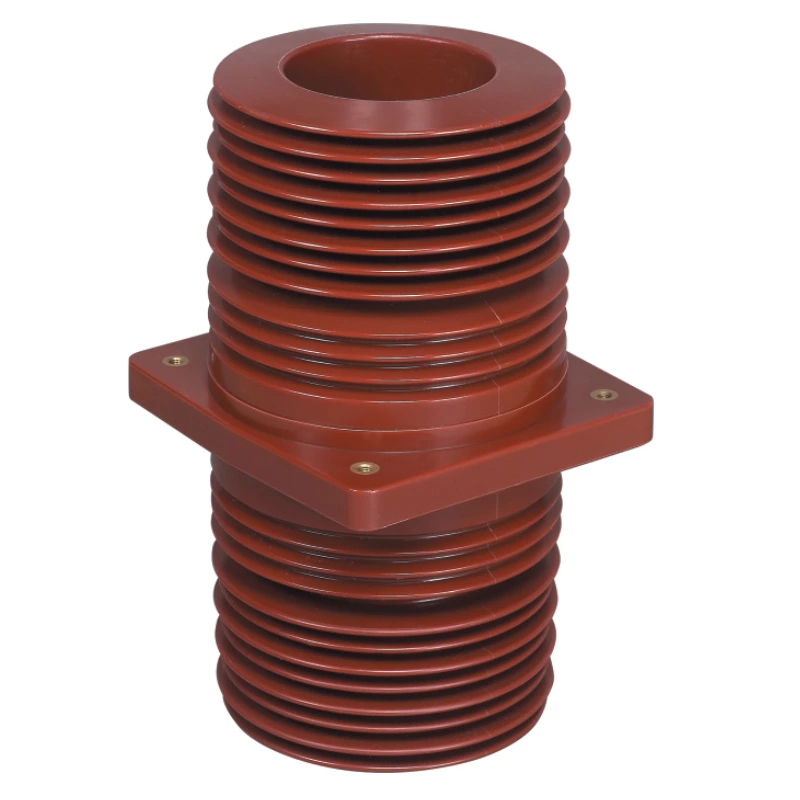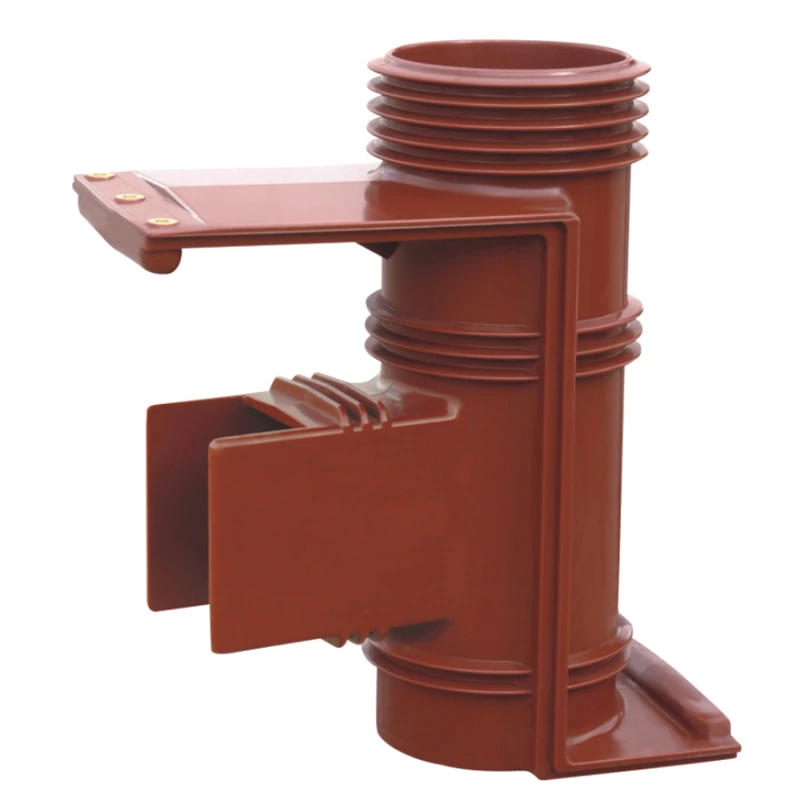
Ac Withstand Voltage Test Steps For Insulators And Bushings
1) Discharge the test object to ground and remove the lead wire.
(2) Wipe the dirt on the outer insulation surface of the test object with a clean, soft dry cloth, and clean it with an appropriate detergent if necessary.
(3) Test the insulation resistance, which should be normal.
(4) Arrange the test equipment reasonably, and reliably ground the test equipment housing and the test object housing. Connect the wires and check that the test connection wires are correct, the voltage regulator is at zero position, and the discharge distance corresponding to the overcurrent and overvoltage in the test circuit.
(5) Set the discharge voltage of the ball gap to the discharge distance corresponding to 1.2 times the rated test voltage.
(6) Connect the high-voltage lead to the test object, turn on the power supply, and start the voltage increase test. The voltage increase speed can be arbitrary before 75% of the test voltage. From 75% of the voltage, the voltage should be increased evenly, at a rate of about 2% of the test voltage per second. When it reaches the test voltage, start timing and read the test voltage. After the time is up, the voltage is quickly and evenly reduced to zero (or below 1/3 of the test voltage), then the power is cut off, the discharge is carried out, and the ground wire is connected. If no destructive discharge occurs during the test, it is considered to have passed the withstand voltage test.
(7) Test the Switchgear Insulating Bushing resistance, and its value should be normal (generally, the insulation resistance decreases by no more than 30%).